
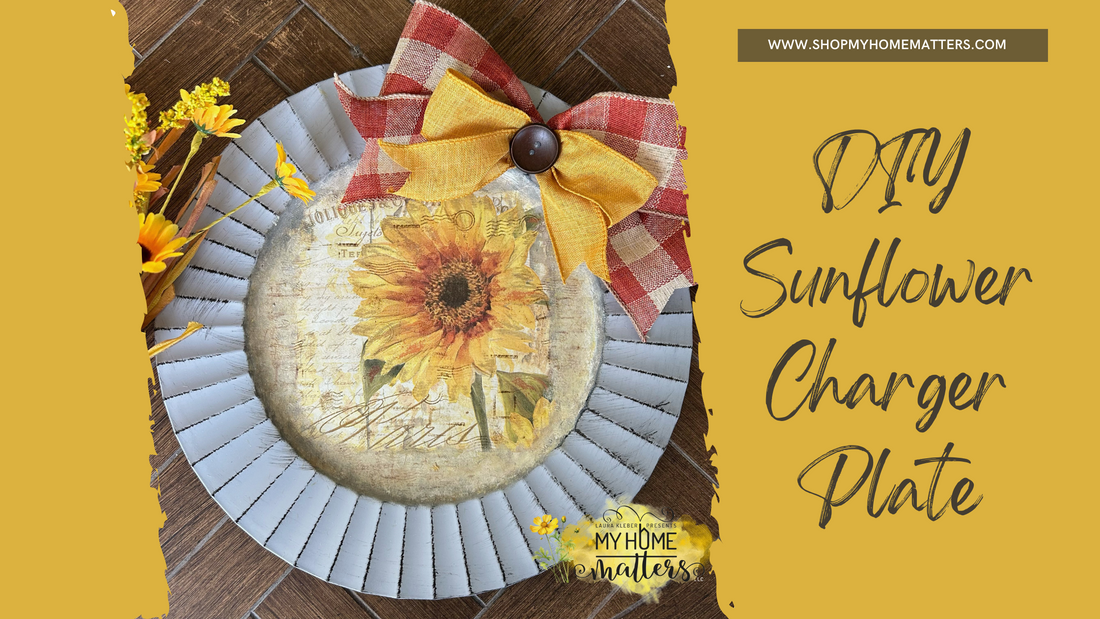
DIY Decoupage Sunflower Charger Plate
Looking for a way to bring sunshine into your kitchen or dining space? This DIY project turns a simple Dollar Tree charger plate into a cheery, vintage-inspired sunflower accent. With just a napkin, some paint, and a little creativity, you can make a one-of-a-kind piece that looks like it came straight from a boutique. I'm still in a sunflower kind of mood, and continuing on this theme after last week's Sunflower Sign Using Wooden Biscuits.
Supplies You’ll Need
- Charger plate (mine came from Dollar Tree)
- Vintage Sunflower Napkin (or napkin of your choice)
- Acrylic paint (white, cream, yellow, gray - or colors that coordinate with your napkin)
- Mod Podge
- Parchment paper
- Iron
- Paint dabbers/sponges
- Stampers (Dollar Tree) & brown ink
- Polycrylic sealer (I used Minwax)
- Hot glue gun
- Ribbon in two tones + button for bow center
- Optional: twine or wire for hanging
Step 1: Prep & Paint
Start by painting the center of your charger plate white. This gives your napkin design a crisp background to shine against. If you do not paint it white, the napkin will have a more translucent look, which is fine - just depends on the look you want to achieve. Let it dry completely before brushing on a coat of Mod Podge over the painted area. Once the Mod Podge is dry to the touch, you’re ready for the fun part!

Step 2: Add the Napkin
Carefully remove the back plies from your napkin until you’re left with the top printed layer. Place the napkin in the center of your charger. Cover with parchment paper, then gently iron over it. The heat re-activates the Mod Podge, bonding the napkin smoothly without bubbles or wrinkles.


Step 3: Blend the Edges
Since the napkin is square and the charger is round, you’ll want to blend those edges. Using paint dabbers, tap on cream, yellow, gray, and white randomly around the open sections to make the center design look uniform.
For extra character, use stampers and brown ink to add script, lines, or random details that help the napkin design transition into the painted areas. This gives the whole plate a vintage, layered feel.

Step 4: Seal & Embellish
Once you’re happy with your design, apply a coat of Polycrylic sealer (you can also use Mod Podge) to protect the surface. I added a bow made with two tones of ribbon, secured with hot glue and a brown button center to finish it off and add some softness.
Optional: attach twine or wire to the back for hanging. Otherwise, prop your plate on a stand or lean it on a shelf for display.


Ways to Use It
- Display on a kitchen shelf or floating shelf.
- Use a plate stand for a table centerpiece.
- Make multiples with different napkin designs to swap out seasonally.
- The possibilities are endless — any napkin design, any color scheme, any room!

Closing Note
I love how this sunflower charger plate turned out — simple, cheerful, and unique. If you try this project, be sure to share your photos with me. I’d love to see your creative spin on it!
