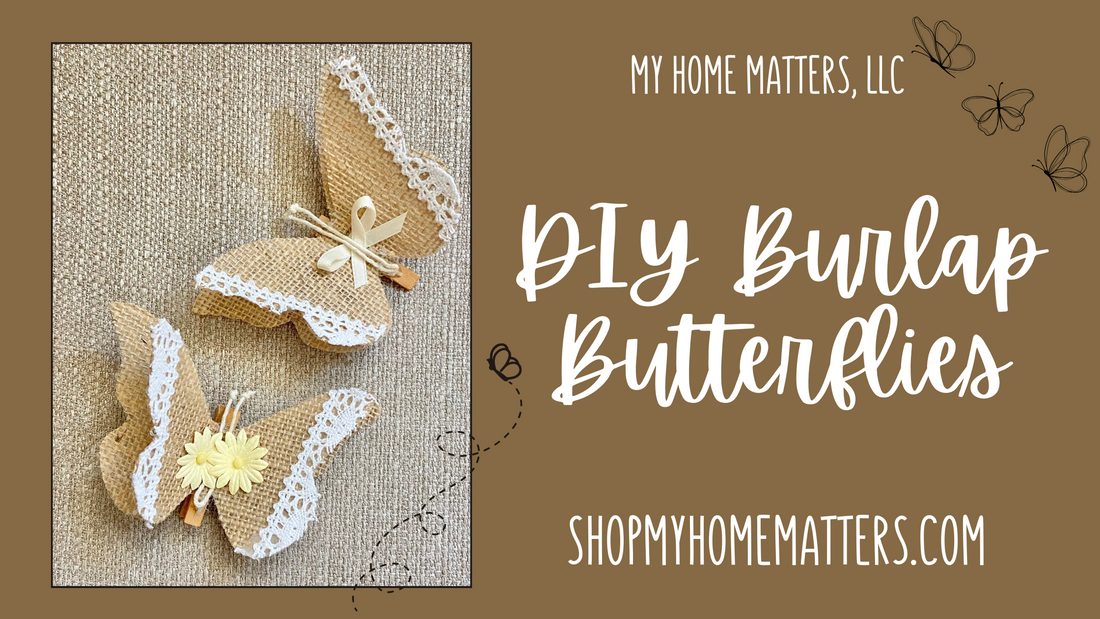
Unleash Your Creativity: DIY Burlap Butterflies
Are you looking for a fun and creative craft project to try at home? Why not make some adorable burlap butterflies! These charming butterflies can be used as decorations, gift toppers, or even as part of a nature-themed art project. Follow these simple steps to create your own burlap butterflies using just a few materials.
What You'll Need:
To make burlap butterflies, you will need the following materials:
- Burlap fabric or printer sheets (what I used)
- Twine
- Lace
- Small Clothespins
- Scissors
- Hot glue gun
- Embellishments (such as buttons, flowers or beads)
Step 1: Cut Out the Butterfly Shapes
Start by cutting out butterfly shapes from the burlap fabric. You can either freehand the shapes or use a template or wood shape. Cut out two matching shapes for each butterfly you want to make.


Step 2: Add Details
Next, add some details to your butterflies. Use the twine to create the butterfly's antennae. You can also add lace wings to the wings for a delicate touch.


Step 3: Assemble the Butterfly
Once you have all the pieces ready, use the hot glue gun to attach the twine, lace, and any other embellishments to one of the burlap butterfly shapes. Then, place the second burlap shape on top and press down to secure everything in place.

Step 4: Attach the Clothespin
Finally, attach a clothespin to the back of the butterfly. This will allow you to easily clip the butterfly onto various surfaces, such as curtains, branches, or gift bags.

You can also watch the full tutorial here if you'd like!


There you have it! Your beautiful burlap butterflies are now ready to flutter into your home and add a touch of whimsy to any space. Get creative with different colors, shapes, and embellishments to make each butterfly unique. Happy crafting!
