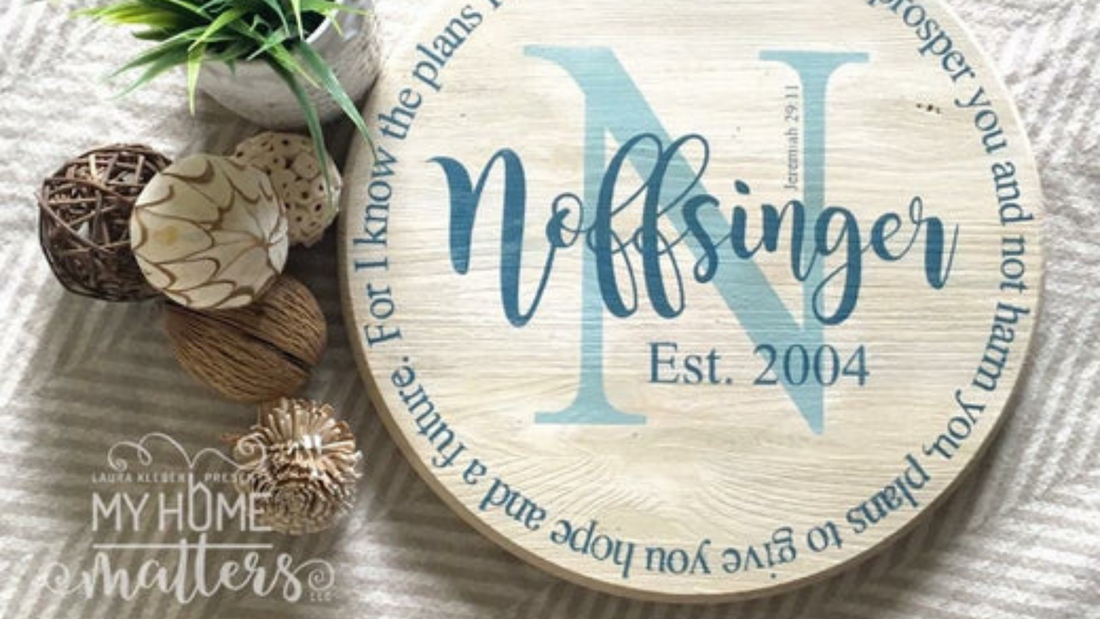
White Washed Wood: How I Achieve the Look!
Share
White Washed Wood is one of our most popular background options for workshops and custom orders is the white washed effect. We offer it in two different tints - one with a gray tint and one with a creamy brown tint. However, playing with the colors of the paint and stain can lead to an infinite number of beautiful outcomes. This week, I want to demonstrate how to create this white wash on a wooden background so that you can do it yourself! And if you stay with me, I also have a video tutorial link!
Since I had to white wash one of our holiday sleigh kits for an order, I am showing you some photos from that project. But we do this on any of our raw wooden backgrounds. (This post does contain a couple of affiliate links meaning that, should you choose to purchase supplies using that link, I get a small compensation. BUT it comes as no additional cost to you!)
Supplies Needed:
- chip brush
- latex or work glovess for applying stain
- white paint (can be latex, chalk paint, or craft paint)
- off white paint (also can be latex, chalk paint, or craft paint - and it is not absolutely necessary to also use off white; but we like to use two colors simply because it adds a bit more dimention)
- stain (I used Minwax Gray for the sleigh project in this post but we also like to use Minwax Early American to do the ones tinted in cream/brown - also noted in video)
- foam brush or shop towels for staining
- paper plate
- 220-grit sand paper
To start creating your white washed wood, pour a little bit of each your white paint and off white paint onto a paper plate. Using a chip bruch, dip the brush into a small amount of white paint and dab off the excess. Then, lightly drag the brush/paint across your raw wooden surface.


Continue this process allowing the paint to be slightly heavier in some spots than others, but not leaving one area super raw. Make sure to get the sides of your project if they will be visible when finished.


Now, using the same brush, dab into the off white paint and go through the exact same process filling in some of the areas with more paint. (Use that same dry brush technique.) You do not want to completely cover the wood with paint or the next step will not work. But, if you use very little paint, the stain you apply in the next step will absorb more heavily causing a darker effect as opposed to a lighter one.


Once you have applied the paint and are satisfied with the amount, allow it to dry completely.
Step two is to add the stain.
White washed wood has a completely different look based on the way that you apply your paint and the colors you use in combination with the stain you add. For this step, you will want to put on your gloves! Open and carefully stir the stain. Using a foam brush or shop towel, dip into the stain and start wiping it over the paint you applied. Be sure to work WITH the grain of the wood, not against.

Be sure to get into all cracks and nooks and crannies. Get the side edges if they will be visible. Do a small area and then wipe the excess off with a shop towel.

You will see that this completely changes the look of your project! You will be able to see how dark or light the stain absorbs based on the amount of paint you apply. My suggestion would be to try this on some sample pieces before ever trying it on something you would be upset to mess up! But, like I said above, the nice thing about white washed wood is that all projects will look just a little different because of the amount of paint that is applied. Below I'll show you several projects I did using a this method.
Allow the stain to dry for a full day.
Step three is to sand!
If you are going to be painting over your white washed wood, especially using a vinyl stencil, I highly recommend using 220-grit sandpaper to sand over the entire surface. I like to use a rotary sander (my favorite is this one by Dewalt) to do this, but you can do it by hand. Adding the white wash means you are adding texture to a surface that might already have natural knots and dings and ridges. Sanding will help minimize any bleeding that could occur from using a stencil with paint. (I also recommend using mod podge over white wash surfaces before using a vinyl stencil - but since we are not actually painting in this post, I'm not going to go into detail on that here.
And, that's it! No, seriously...that's it! Here are some examples of some white washed wood projects I have done...some with the gray tint and some with the brown.


Okay - now that you know how to do a regular white wash "Laura-style", you can get jiggy with it and throw in some other paint colors - try adding some blues, blacks, grays, or maybe a little olive green or tan before adding Early American stain - that's what I did with these! You can get so many unique results!


And this one, also...

Okay...so you've made it to here and, as promised, here is your video tutorial of the white washed wood process. This video is from Facebook so if you are unable to watch that one, here is one-minute video YouTube version.
Did you know that you can order from hundreds of possible kit options right from our online shop? Or perhaps you are looking for one of our seasonal kits! You can order them with unfinished backgrounds so that you can do that yourself OR you can have us finish the background for you... but now that you know how to create white washed wood, you can feel confident that you can make a sign or tray with your own special background! There are lots of different types of "white washing" processes and this is just one. Check out my very first blog post where I used a different white washing technique over a faux brick panel wall in our guest room.
Who is ready to try out my white washing method? Who has already tried it?

5 comments
I can’t wait to try this. Thank you as always for the great information.
I am remodeling my upstairs bedroom and have shiplap on 2 of the walls. I know I don’t want to just simply stain or paint them- white wash may be the way for me to go! The best of both worlds. Glad I saved a few pieces so I can perfect my tenique!
Thank you!!
Thank you for explaining the white wash method. Always learning something new
I needed to see this !!!! Just last week I unsuccessfully searched your site for a tutorial on this …. and here it is !!! You did an awesome job and I am confident that I can now use this technique on one of your kits I received as a gift last year !!! I can’t wait !!! Thank you for sharing your knowledge.
I have quite a few items that are calling out for a good white washing!! Thanks for the tutorial!