The Smashed Can Project
The Smashed Can Project
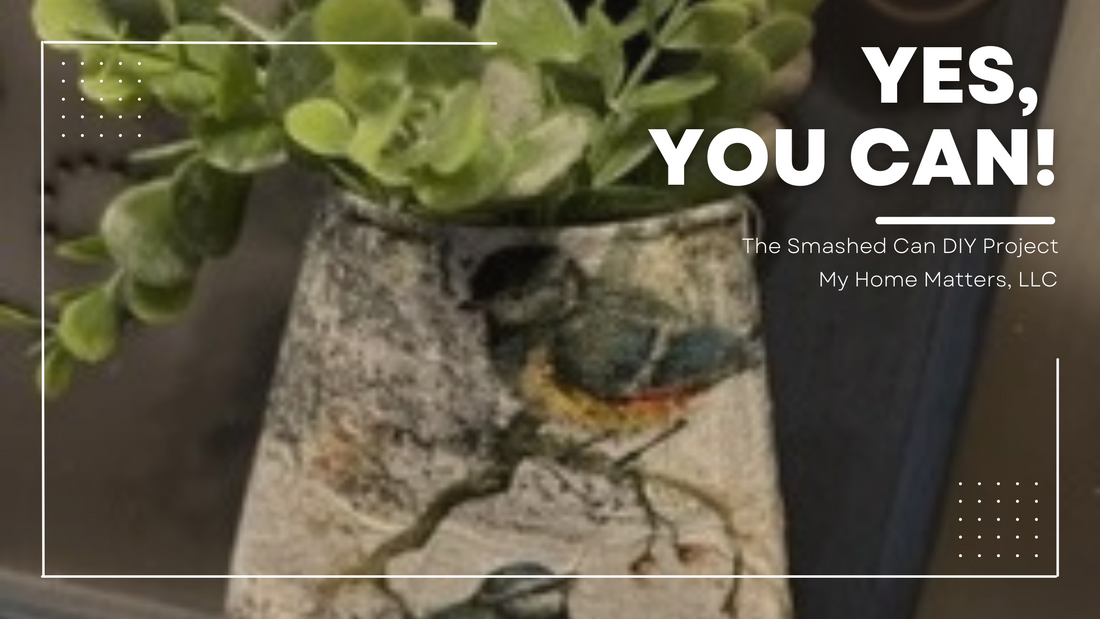
Go raid your recycling bin for your aluminum cans for this cute décor project. Yes, I said cans. The Smashed Can Project is popping up all over the place this Spring. We decided to give it a try. Laura is busy as a bee working on new designs for our upcoming Live Sale, therefore I (Darcey) offered to try this project. It is hard to believe that you can create something so beautiful from a smashed can!

Supplies Needed
You will need the following items for your smashed can project:
- aluminum cans washed out with outer label removed
- can opener
- fancy napkins
- scrap block of wood
- rubber mallet or hammer
- mod podge
- scissors
- paintbrushes
- paint (acrylic or chalk) best to go with a light color or something that coordinates with your napkin selection
- wire or twine if you want to hang your smashed can piece

Let's Get Started
Make sure you wash your cans, inside and out. Please be careful not to cut yourself on the lip of the can. Major ouch! I did on the one can I used that had a pull top tab. Be careful! Let those dry thoroughly.

Next you need to decide how you want your can to look. There are a couple ways you can smash your can.

- You can leave it as it with just the top removed and no smashing needed.
- Smash one side completely flat leaving the top opened as a circle,
- Or smash the top circle and leave the bottom on with a circular bottom.

To smash just one side and leave the bottom as is – all you need is your arm strength. Clasp your hands together over the top of the can and squeeze together to desired width and look.

Let's Paint
Time to paint your can. Again, a color that is light will work best. I did try with this can painting it all black because it had the label printed on the can. You can see how the black pulls through giving it a bit of an antique look. Either chalk paint or acrylic will work for this project. You will need two coats of paint and allow ample drying time between each coat. Follow the drying time instructions based on the paint container's instructions. If you want to use your smash can outside or add plants or herbs to it, you need to paint the inside of your can as well so it does not rust from the water and moisture.
[gallery size="large" ids="15749,15761,15750"]
Mod Podge Time
After your paint has completely dried, it is time to add the napkin to your can. The hardest part for me was being patience with waiting for my paint to dry. Now the magic starts, choose your napkin. You need to unfold it then remove the top printed layer from the bottom layer of the napkin. This step is very important you ONLY want the top printed layer. You might need to cut your napkin to fit the height of your can, if so gently cut to size. You may need another napkin to complete the circumference of your can depending upon its size.
Grab your mod podge and apply a thin coat to your can, then delicately place your napkin on top and continue to work around your can until it his fully covered. Then you will apply a thin layer on top of the napkin, move slowly with light strokes so you do not pull the napkin apart or off the can. Take your top pieces of napkin edge and wrap over the lip of the can and apply mod podge. This will create a nice barrier on the inner portion of your to minimize any sharp edges. Let everything dry 20-30 minutes, make sure it is dry to the touch. You can then put a final coat of mod podge over top of your napkin to seal your project. Wait a 2-3 hours for all the layers to completely dry.
Final Step - Decorate!
While it is drying you can decide if you want to use wire or twine to hang your smash can project. You could also lean it or if you kept it in its original shape and add a candlestick bottom or ball feet. Check out our Maker's Market for these items as well as fancy napkins. As for what you put the inside of your gorgeous smashed can? You can decorate it any way you want. You can add plants or herbs, fake plants or succulents, hang off a mini ladder, or add your pencils/pens to pretty up your work area. There are several ways to style and use your smash can piece. The possibilities are endless! We hope you enjoyed this smashed can project and let us know if you try one!
[gallery size="medium" ids="15750,15743,15752,15753,15754,15758"]

1 comment
These are beautiful, Darcey. Can’t wait to try it!!!!