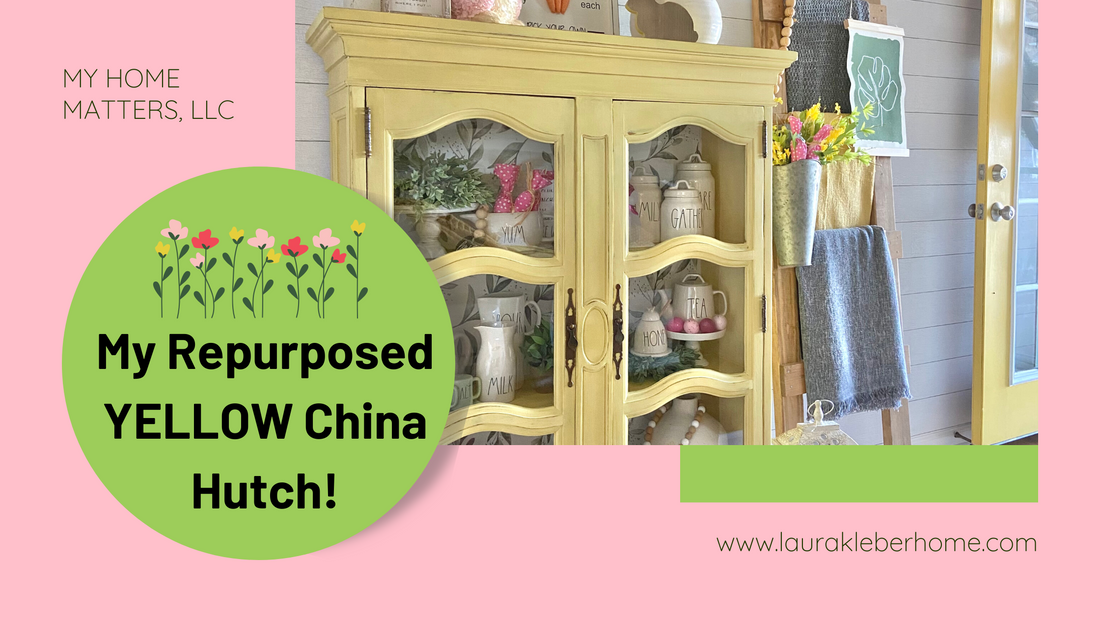
My Repurposed China Hutch
Today I'm sharing with you my repurposed china hutch turned curio cabinet of sorts! I have had this piece which was given to me several years ago stored away knowing I could do something with it. At some point in my Pinterest searches, I came across the tops of these china cabinets being repurposed into stand along pieces. Being that the bottom of my piece was in not-so-good shape (the back was rotting out), this was the perfect solution for it and I knew just where I wanted to show it off...my entryway!
Note: there are affiliate links in this post which means I would get a very small commission on orders placed via links provided. The good news is that it comes at no additional cost to you!
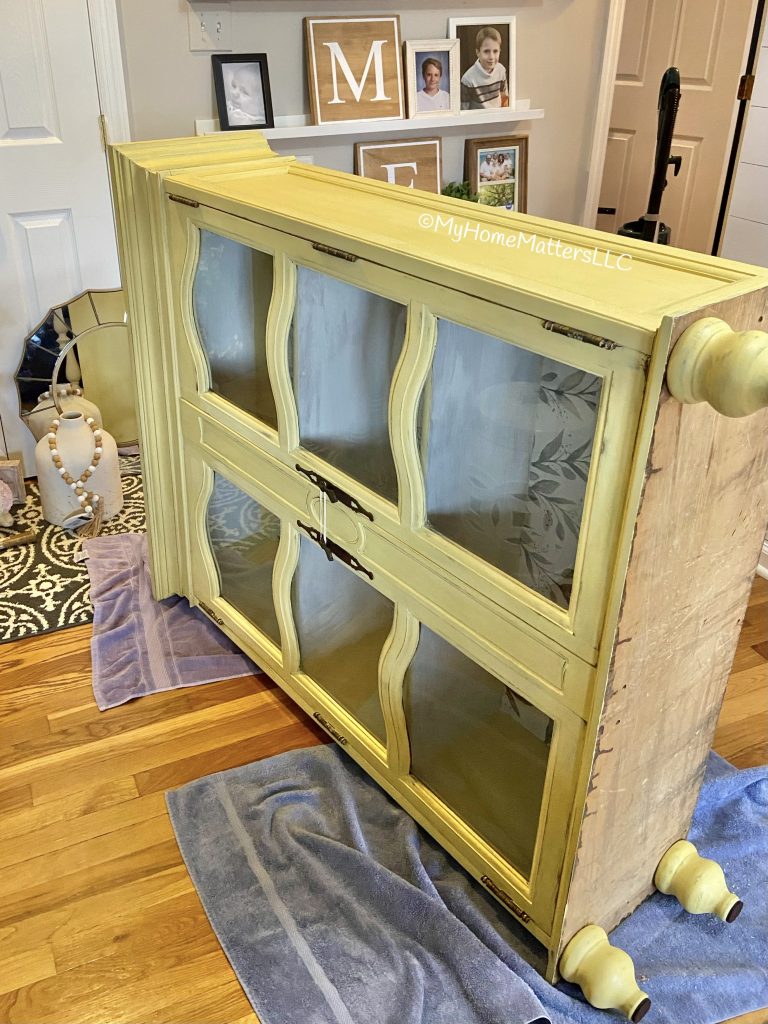
Here's the must-show before photo of this piece. The curves on those doors are so pretty.


While I knew all along I wanted to paint it, the finish was not in bad shape on the top. However, it was dark and 1. blended into our hardwood floor and 2. made our very small entryway feel super dark. Bright and airy was the look I was going for as we can use all the help we can get with that in our long ranch. After a good cleaning with some vinegar and water, it was time to make a decision on color.
At first, I thought green was the way to go. After all, green would go well with decorating for Spring, Summer, Fall and Christmas! I even found a blog post with a green I thought would be perfect. Except the piece seemed to keep calling... "Yellow!" For those of you who follow me on social media, yellow is my absolute favorite color! That being said, I never really expected to use it on a piece of furniture. Accents were more my thing. But gosh darn if it didn't keep whispering to me... "I want to be yellow!"
I was going for buttery and soft. Not too gold, not too neon, not too bright. While the clear wax did darken the original color, I still am in love with the outcome. So, with some help from another Laura, a local Annie Sloan Stockist at The Backdoor Furnishings, I found the perfect color combination! A mix of Annie Sloan's Tilton and Cream in a 50/50 mix appeared to be it!

The question now became which parts will be painted. The back of the inside already had a wallpaper covering of some sort - also rather dark. I could either paint everything yellow... or... maybe the back could be a contrasting color ... or... how about wallpaper? Ding ding ding! I had lots of leftover scraps from our kids' bathroom update and I love that pattern so much that I knew it might just be the perfect backdrop! I did everything yellow except for the back. What's nice about wallpapering the back of something like this is that matching the pattern of the wallpaper didn't matter. You couldn't tell due to the middle divider between the doors (which would be closed the majority of the time)!


What style of feet?
With lots of options for the feet I wanted to add, here is what I took into consideration. While I liked some that were slightly taller and more slender, they didn't seem "beefy" enough. So, when I saw these, the curves just seemed to match the curves on those doors so well. Adding the feet can be done a couple of different ways. One is to use some metal pieces that get screwed onto the bottom first and then the large screw on the top of the foot gets inserted into that.
But the method I used was do get a drill bit the same size as the screws on the top of the feet and, once I determined where the feet should go, I drilled a hole that size and deep enough to be able to just screw the feet in. It took a few times of drilling deeper, but that's really all there was to that.


One slight challenge I had was that right where I wanted to drill those screw holes was almost exactly where there was already some type of screw connecting the bottom of the hutch to the body! With the help of my 15 year old son, we fudged things just enough that I could drill the holes "close enough" to where I wanted them and then he enjoyed screwing them in. So as a word of caution, check the underside of your hutch prior to planning out your project!
Originally, I considered spray painting the hardware black. But after some thought, I decided to just clean it up and keep that light bit of patina. Paired with the slight distressing I did to the hutch, I felt like it was the better match.

I now have yet another new piece to decorate for Christmas this year and yellow will give me a new challenge! I hope you enjoyed this makeover as much as I enjoy the cheerfulness of this piece in my entryway!
Note: there are affiliate links in this post which means I would get a very small commission on orders placed via links provided. The good news is that it comes at no additional cost to you!
The Before...
Here's the must-show before photo of this piece. The curves on those doors are so pretty.
While I knew all along I wanted to paint it, the finish was not in bad shape on the top. However, it was dark and 1. blended into our hardwood floor and 2. made our very small entryway feel super dark. Bright and airy was the look I was going for as we can use all the help we can get with that in our long ranch. After a good cleaning with some vinegar and water, it was time to make a decision on color.
Green vs. Yellow...
At first, I thought green was the way to go. After all, green would go well with decorating for Spring, Summer, Fall and Christmas! I even found a blog post with a green I thought would be perfect. Except the piece seemed to keep calling... "Yellow!" For those of you who follow me on social media, yellow is my absolute favorite color! That being said, I never really expected to use it on a piece of furniture. Accents were more my thing. But gosh darn if it didn't keep whispering to me... "I want to be yellow!"
I was going for buttery and soft. Not too gold, not too neon, not too bright. While the clear wax did darken the original color, I still am in love with the outcome. So, with some help from another Laura, a local Annie Sloan Stockist at The Backdoor Furnishings, I found the perfect color combination! A mix of Annie Sloan's Tilton and Cream in a 50/50 mix appeared to be it!
To paint or not to paint...
The question now became which parts will be painted. The back of the inside already had a wallpaper covering of some sort - also rather dark. I could either paint everything yellow... or... maybe the back could be a contrasting color ... or... how about wallpaper? Ding ding ding! I had lots of leftover scraps from our kids' bathroom update and I love that pattern so much that I knew it might just be the perfect backdrop! I did everything yellow except for the back. What's nice about wallpapering the back of something like this is that matching the pattern of the wallpaper didn't matter. You couldn't tell due to the middle divider between the doors (which would be closed the majority of the time)!
What style of feet?
With lots of options for the feet I wanted to add, here is what I took into consideration. While I liked some that were slightly taller and more slender, they didn't seem "beefy" enough. So, when I saw these, the curves just seemed to match the curves on those doors so well. Adding the feet can be done a couple of different ways. One is to use some metal pieces that get screwed onto the bottom first and then the large screw on the top of the foot gets inserted into that.
But the method I used was do get a drill bit the same size as the screws on the top of the feet and, once I determined where the feet should go, I drilled a hole that size and deep enough to be able to just screw the feet in. It took a few times of drilling deeper, but that's really all there was to that.
A word of caution...
One slight challenge I had was that right where I wanted to drill those screw holes was almost exactly where there was already some type of screw connecting the bottom of the hutch to the body! With the help of my 15 year old son, we fudged things just enough that I could drill the holes "close enough" to where I wanted them and then he enjoyed screwing them in. So as a word of caution, check the underside of your hutch prior to planning out your project!
Hardware...
Originally, I considered spray painting the hardware black. But after some thought, I decided to just clean it up and keep that light bit of patina. Paired with the slight distressing I did to the hutch, I felt like it was the better match.
I now have yet another new piece to decorate for Christmas this year and yellow will give me a new challenge! I hope you enjoyed this makeover as much as I enjoy the cheerfulness of this piece in my entryway!