Camper Renovation - Before and After!
Share
It's camper renovation before and after day! So first, let me update you on how this all came to be. Back in August, we spent a week of vacation at our camp which is in a campground on lake Erie. We've had this 39-ft park model trailer that stays put in the campground for about 12 years now. I have never wanted to do any updating since it's always been just a place to come get away from working. But at the end of vacation, something just flipped in me that sparked the motivation to completely re-haul our camper. With Mr. Home Matters on board, within the week, my van was loaded to the gills and two of our three kiddos headed to camp with me to begin the renovations.

First, I focused on the living room/kitchen since it was all one big space. My plan was to use the same peel and stick shiplap wallpaper that I used in our home on the dining wall, entry wall and in the master bathroom. The existing wallpaper border would get a coat of primer so as to not show through the wallpaper and the ceilings a couple of coats of white paint. I had chosen blues and neutrals to pair with the existing carpet color but to also make it feel more like a tiny lake home than a camper! Here are some befores...


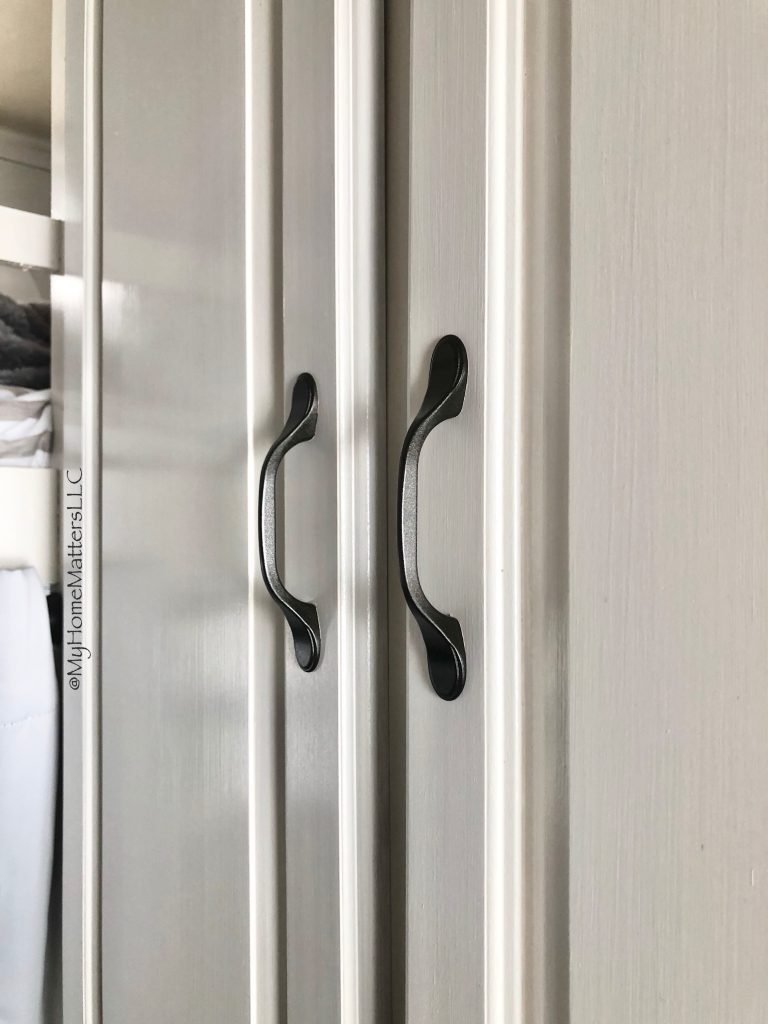
On day one of the reno, I took all of the cabinet doors off as well as the hardware, sanded and primed all of the wood, and got some of the paint on the walls and ceilings. Five days later, I had the wallpaper up as well and everything but the refrigerator and behind the fridge was pretty much done. I attempted using appliance paint on the refrigerator and range as I had time.


The carpet got a good cleaning but still haven't been able to get the big spot out on the edge...

We decided on a photo collage for under this shelf but haven't replaced the family that came with the frame yet either!


Moving on to our "master bedroom," I continued in much of the same manner. Wallpaper, priming, painting, and so on.


Did you read last week's post about how I added the trim to the doors?

Rolling my rear into a paint can lid full of paint as I painted one of the bunk spaces was only part of the difficulties with painting these small spaces. The fun part was when I was able to jazz it up and put the finishing touches on. With Mr. Home Matters' help, and a kiddo or two, we removed a corner cabinet and added a set of shelves and a ladder. To see the full bunk room transformation process, click here!


Space is a valuable commodity in a camper! We closed off the second door that connected our room to the bathroom to allow for a place to put a towel holder.
If you look in the reflection, you can see the old door. Now it's a towel holder space!

I had a sign in mind that I wanted to make and love how it turned out! Closing off that door also gave us the space in the bedroom for another accordian type coat rack on which we can hang clothes, bathing suits or whatever! More wallpaper, sanding and priming and painting had to occur but it wasn't quite as bad as the bunk room.


And then there was the hallway...
For more behind the scenes photos, follow me on Instagram where you'll find all of the highlights saved! You can also catch an after video of the entire camper here. If you made it all the way to here, thanks for following along with our camper renovation! Have you renovated a camper? Are you inspired to renovate one now? I'd love to know!


Phase I...
First, I focused on the living room/kitchen since it was all one big space. My plan was to use the same peel and stick shiplap wallpaper that I used in our home on the dining wall, entry wall and in the master bathroom. The existing wallpaper border would get a coat of primer so as to not show through the wallpaper and the ceilings a couple of coats of white paint. I had chosen blues and neutrals to pair with the existing carpet color but to also make it feel more like a tiny lake home than a camper!
 Here are some befores...


On day one of the reno, I took all of the cabinet doors off as well as the hardware, sanded and primed all of the wood, and got some of the paint on the walls and ceilings. Five days later, I had the wallpaper up as well and everything but the refrigerator and behind the fridge was pretty much done. I attempted using appliance paint on the refrigerator and range as I had time.


The carpet got a good cleaning but still haven't been able to get the big spot out on the edge...

We decided on a photo collage for under this shelf but haven't replaced the family that came with the frame yet either!


Phase II...
Moving on to our "master bedroom," I continued in much of the same manner. Wallpaper, priming, painting, and so on.


Did you read last week's post about how I added the trim to the doors?

Phase III...The Bunkroom.
Rolling my rear into a paint can lid full of paint as I painted one of the bunk spaces was only part of the difficulties with painting these small spaces. The fun part was when I was able to jazz it up and put the finishing touches on. With Mr. Home Matters' help, and a kiddo or two, we removed a corner cabinet and added a set of shelves and a ladder. To see the full bunk room transformation process, click here!


Phase IV...The Bathroom.
Space is a valuable commodity in a camper! We closed off the second door that connected our room to the bathroom to allow for a place to put a towel holder.

If you look in the reflection, you can see the old door. Now it's a towel holder space!

I had a sign in mind that I wanted to make and love how it turned out! Closing off that door also gave us the space in the bedroom for another accordian type coat rack on which we can hang clothes, bathing suits or whatever! More wallpaper, sanding and priming and painting had to occur but it wasn't quite as bad as the bunk room.


And then there was the hallway...
Things to keep in mind if you want to renovate a camper...
- It's not for the faint of heart.
- Nothing in a camper seems to ever be straight. This does not pair well with those of us who find that the crooked cabinets make your nicely leveled shiplap wallpaper also look crooked.
- It's easy for things to snowball from one project to another. Pace yourself! I could have taken it a step further and replaced the faucets and painted the sink and shower. Luckily I ran out of time AND money for those things!
- You don't have to go all in to make updates. You don't have to paint cabinetry. Focus on the things that can make the most impact for your budget. Your space needs to function first. The rest is icing on the cake!

For more behind the scenes photos, follow me on Instagram where you'll find all of the highlights saved! You can also catch an after video of the entire camper here. If you made it all the way to here, thanks for following along with our camper renovation! Have you renovated a camper? Are you inspired to renovate one now? I'd love to know!


5 comments
I absolutely loved your transformation. I like your use of color along with the white and wood. I am so over all the back and white renovations. We are s-l-o-w-l-y making over our 2014 Keystone Passport bunkhouse.
This is so inspiring. Awesome job. Love the fabric on the benches. Love the upholstery detail.
Love your “detailed “ Before & after photos! And you didn’t paint everything “white” ( not criticizing) to each their own. I like wood & color. So it was nice to see some “color”. I am working on my camper too. Very nice, not doing a “glamper” but something that says ME. Thank you again for sharing, renovating anything is a lot of work. Carrie M
Hi Laura!
Love what you did with your camper renovation. My husband and I are redoing a complete camper redo.
We had to replace the complete ceiling and front wall. This is our second one to redo plus a motor home.we are now
O the painting part. Can’t wait to get it done. My Granddaughter Arianna and myself redone the couch and we still have the curtains and we are having a ball working this together. Keep me updated on new projects you are doing.
Thanks so much for the tips .
Beth Shearer
Hello I’m redoing our camper an I love the paint color could you please tell me what the name brand is. Also I don’t know if the cloth that you used to do the dinette table has a color name or which ever but I would love to find that as well. Thank you so much.