Adding Dimension to Flat Panel Doors
Share
Adding dimension is one of those phrases you hear a lot from decorating gurus and HGTV stars. The truth is, adding dimenion is key to making your home feel, well, un-flat?!? My kids came across an old television re-run of Bob Ross painting some happy little trees not too long ago. (That man is mesmerizing!) If he did not add layers and more than one color to his happy little trees and mountains and lakes and such, the painting wouldn't have nearly the effect that it does with those additions. It's the same with decorating! As I finalize the last details of the camper renovation, I decided that our flat panel doors needed some of that so-called dimenion. So, let me show you what I did!
Something fairly narrow and flat that I could glue and nail onto the door front, visible from the hallway, is what I set out to find. I found pre-finished 3/4 inch by 8-feet long white pieces for $2.47 that were exactly what I had in mind. My sketch from the prior weekend allowed me to calculate the amount I'd need plus some extra. Sorry this sketch is so blurry - I hadn't planned to write a blog post at the time! Hopefully you can kind of tell that I had in mind a longer "panel" on top and a shorter "panel" at the bottom of the door - similar to some raised panel doors you can buy.
(I was oddly proud of myself for cutting these as I don't normally do mitered corners!) Once all of the pieces were cut, I added them to the weekly car load that has been the norm for our weekend trips to the lake! I got to work on Saturday while the boys were fishing and my daughter visited with the neighbors. That meant getting that air compressor out, freaking out the dog and making the neighbors all wonder what I was up to. AGAIN. I measured, marked, glued, nailed and filled the nail holes.


Then came the sanding, the priming and the painting OF BOTH SIDES. I did the flat panel side first, then re-hung the doors since not having a door on the bathroom does not bode well for a family of five. Since I only did the paneling on the side visible from the hallway, we rehung the doors and then I painted the last remaining side while it was hung. I'm not going to lie. Painting doors is not my favorite thing to do. It's just not one of those fun projects. But I am a fan of how the doors turned out! Check out these before and afters. I realize now that I did not do the best job of grabbing photos. My carpentry wasn't perfect as I also see now. (Honestly I didn't notice until writing this blog post and getting a closer look at the photos.)
If you missed it along the way in my Instagram story highlights, we also removed the second door in this room that used to be another access to the bathroom.


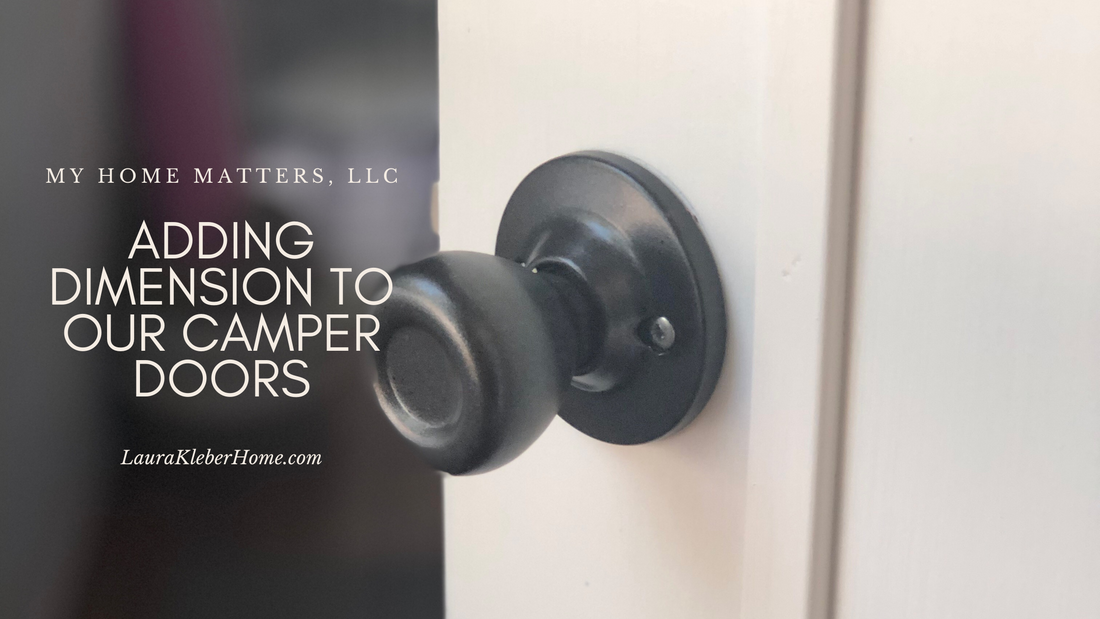
I wasn't feeling the old knobs and, to keep costs down, I chose to spray them and see how long they'll last. Leftover in my box of supplies was some Burnished Amber spray paint by Rustoleum which was perfect. Now the handles match the cabinetry hardware in the bathroom and the bunkroom (did you read last week's post?). The third door to our room is a slider and doesn't have an actual knob, so I'll probably just touch up the inside of the little handle with some black paint. But that's not high on the priority list now that we're down to only a couple of weekends left to enjoy our camper for this season!

Stay tuned... we only have two weekends left before the campground closes. I will be sharing all of the after photos very soon!
I purchased some inexpensive pre-finished trim pieces at Lowe's.
Something fairly narrow and flat that I could glue and nail onto the door front, visible from the hallway, is what I set out to find. I found pre-finished 3/4 inch by 8-feet long white pieces for $2.47 that were exactly what I had in mind. My sketch from the prior weekend allowed me to calculate the amount I'd need plus some extra. Sorry this sketch is so blurry - I hadn't planned to write a blog post at the time! Hopefully you can kind of tell that I had in mind a longer "panel" on top and a shorter "panel" at the bottom of the door - similar to some raised panel doors you can buy.

My miter saw was handy for cutting all of the pieces to size.
(I was oddly proud of myself for cutting these as I don't normally do mitered corners!) Once all of the pieces were cut, I added them to the weekly car load that has been the norm for our weekend trips to the lake! I got to work on Saturday while the boys were fishing and my daughter visited with the neighbors. That meant getting that air compressor out, freaking out the dog and making the neighbors all wonder what I was up to. AGAIN. I measured, marked, glued, nailed and filled the nail holes.


It turns out that was the easy part!
Then came the sanding, the priming and the painting OF BOTH SIDES. I did the flat panel side first, then re-hung the doors since not having a door on the bathroom does not bode well for a family of five. Since I only did the paneling on the side visible from the hallway, we rehung the doors and then I painted the last remaining side while it was hung. I'm not going to lie. Painting doors is not my favorite thing to do. It's just not one of those fun projects. But I am a fan of how the doors turned out! Check out these before and afters. I realize now that I did not do the best job of grabbing photos. My carpentry wasn't perfect as I also see now. (Honestly I didn't notice until writing this blog post and getting a closer look at the photos.)

If you missed it along the way in my Instagram story highlights, we also removed the second door in this room that used to be another access to the bathroom.


One last thing...
I wasn't feeling the old knobs and, to keep costs down, I chose to spray them and see how long they'll last. Leftover in my box of supplies was some Burnished Amber spray paint by Rustoleum which was perfect. Now the handles match the cabinetry hardware in the bathroom and the bunkroom (did you read last week's post?). The third door to our room is a slider and doesn't have an actual knob, so I'll probably just touch up the inside of the little handle with some black paint. But that's not high on the priority list now that we're down to only a couple of weekends left to enjoy our camper for this season!

Stay tuned... we only have two weekends left before the campground closes. I will be sharing all of the after photos very soon!

