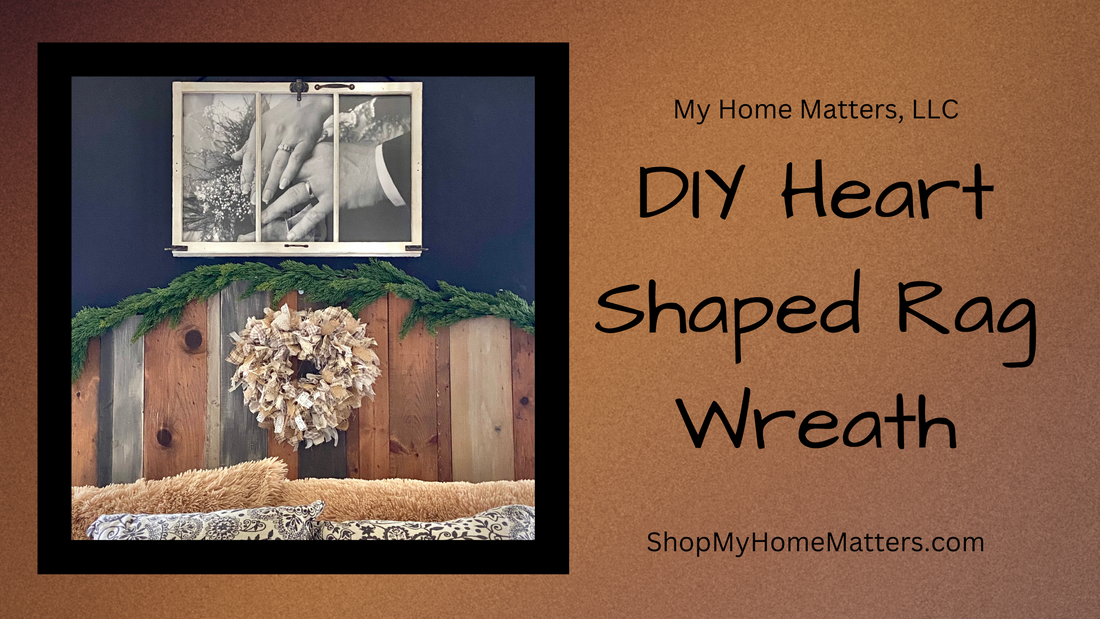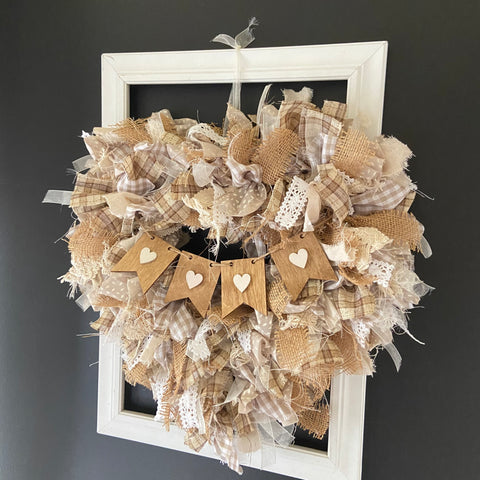
How to Make a Simple Rag Wreath - Heart Shaped Edition!
Share
Are you looking for a creative and unique way to decorate your home? A rag wreath made with ribbons on a heart-shaped wreath form is the perfect DIY project for you. Not only is it a fun and enjoyable craft, but it also adds a touch of charm and elegance to any space. In this blog post, we will guide you through the step-by-step process of creating your own rag wreath using ribbons on a heart-shaped wreath form.
What You Will Need
Before you get started, gather the following materials:
- A heart-shaped wreath form
- An assortment of ribbons in your colors of choice (I stuck with neutrals)
- A pair of fabric scissors
- A ruler or measuring tape
- A hot glue gun (optional)

Step 1: Prepare the Ribbons
Begin by cutting the ribbons into strips of equal length. The length of the strips will depend on the size of your wreath form and the desired fullness of your wreath. A good starting point is to cut the strips to be around 7-10 inches long. You can always trim them later if needed. I started by cutting 10 strips out of eight different ribbons or muslin. This was enough to get me almost the entire way around the center wire ring of the heart form before having to cut more. I'm not sure how many I cut in total - I forgot to count!

Step 2: Attach the Ribbons to the Wreath Form
You can do this one of two ways. What I did was simply tied my ribbons around each of the three concentric wire hearts (one wire heart at a time) in a knot. However, you can also take one ribbon strip and fold it in half. Place the folded end of the ribbon over the wreath form, with the loop facing upwards. Pull the loose ends of the ribbon through the loop and tighten to secure it in place. Repeat this process with the remaining ribbon strips, spacing them evenly around the wreath form.


Step 3: Create a Full and Fluffy Wreath
Continue attaching the ribbon strips to the wreath form until it is completely covered. To achieve a full and fluffy wreath, make sure to overlap the ribbon strips and vary the colors and patterns. This will create a visually appealing and textured wreath. I added ribbon to each of the three wires on the wreath form, but you could certainly start with the middle wire and determine if you need or want more on the inner and outer wire.


Step 4: Secure the Ribbons, if Desired
Once you have attached all the ribbon strips, you can use a hot glue gun to secure the loose ends of the ribbons to the wreath form. This will ensure that the ribbons stay in place and prevent them from unraveling. However, I chose to forego this step.
Step 5: Add a Finishing Touch
To add a finishing touch to your rag wreath, you can attach a small sign in the center. Or, perhaps you like the look of our DIY Mini Garland or our DIY Mini Tags which both give you the wood texture in contrast to the softness of the ribbons.


Step 6: Hang and Enjoy
Finally, hang your beautiful rag wreath on a door, wall, or mantel using a wreath hanger or a piece of ribbon. Step back and admire your handiwork. Your rag wreath made with ribbons on a heart-shaped wreath form is sure to impress your family and friends. Here are a few ideas for other places or ways to hang your masterpiece!


Now that you know how to make a rag wreath using ribbons on a heart-shaped wreath form, it's time to unleash your creativity and make a wreath that reflects your personal style. Whether you choose vibrant and colorful ribbons or opt for a more subtle and elegant color palette, your rag wreath will be a stunning addition to your home decor.
I've included the YouTube video tutorial for you to watch here if you prefer!
Do you like the look of heart shaped wreaths and want to try another style? Learn how to make a Heart Shaped Ruffle Wreath or this Chunky Yarn Heart Wreath, or even this Super Soft Heart Wreath.


1 comment
So awesome .. thank you for showing me how to make such adorable things for my home