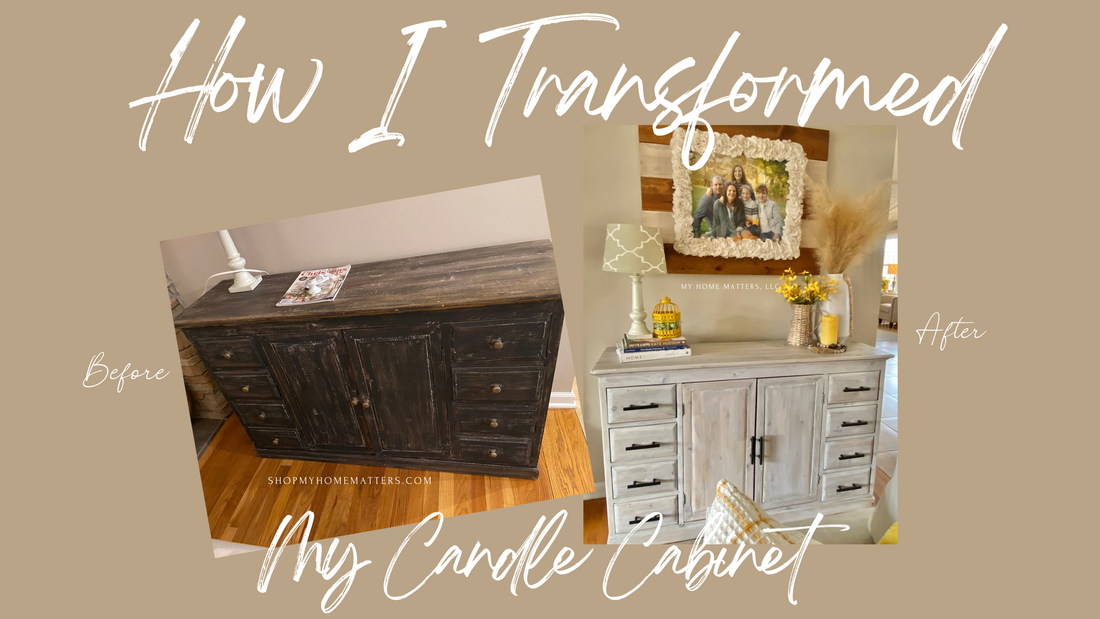
How I Completely Transformed My Cabinet with White Wash
Have you ever looked at a piece of furniture in your home and thought, "Hmm, this could use a little sprucing up"? Well, that's exactly what happened to me for several months in a row when I glanced at the old, rustic cabinet in my living room. It was rough around the edges, but I saw potential for a modern farmhouse transformation.
There are some affiliate links used in this article which simply means that I get a small commission on anything you purchase through my link. However, it comes as no additional cost to you!
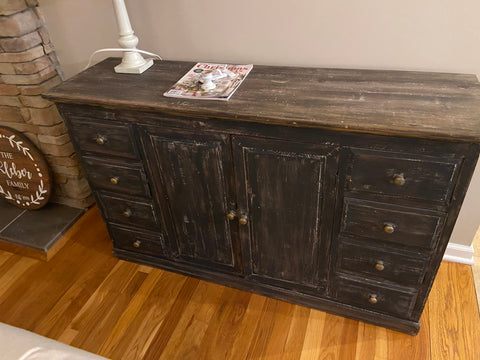
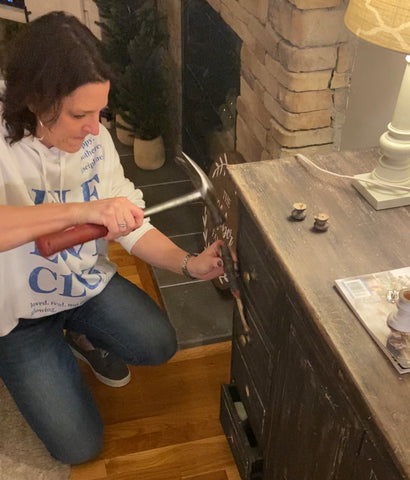
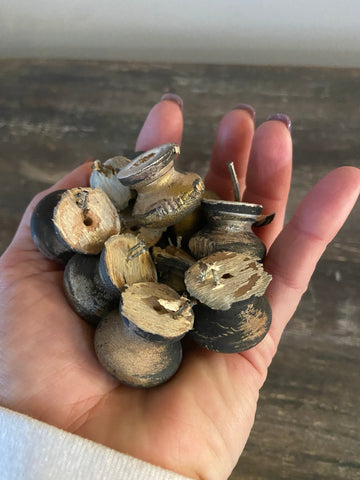
Step 1: Out with the Old, In with the New
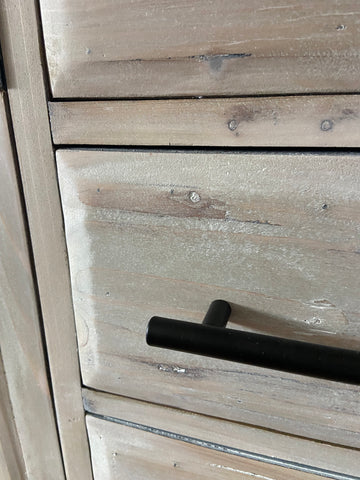
The first order of business was to remove those outdated knobs that were nailed and glued on. After a bit of elbow grease and some strategic maneuvering, they were finally off, making way for the sleek black hardware that would give the cabinet a fresh look. To remove them, I took a putty knife and hammer and gently tapped them until they came apart from the drawers and doors and then pulled them the rest of the way out.
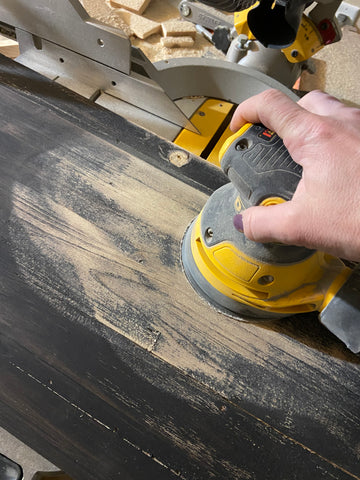
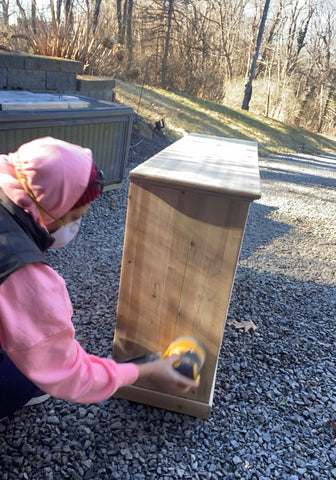
Step 2: Smooth as Butter
Next up, it was time to tackle the rough texture of the cabinet. Armed with 80 grit sandpaper followed by a smoother 120 grit, I sanded away until the surface was as smooth as a baby's bottom (well, maybe not that smooth, but you get the idea). You want to do this in a garage or outdoors as it will create enough dust to fill your home and your lungs - so mask up as well! And don't forget your eye and ear protection!
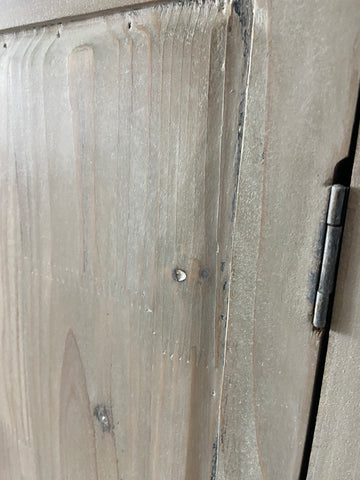
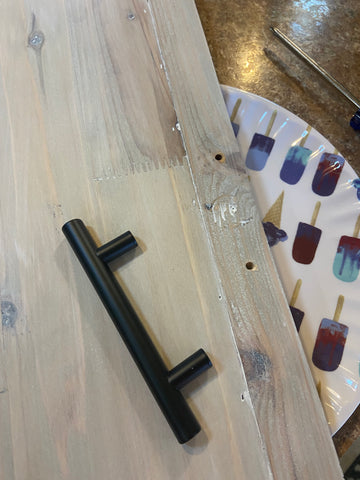
Step 3: Fill 'er Up
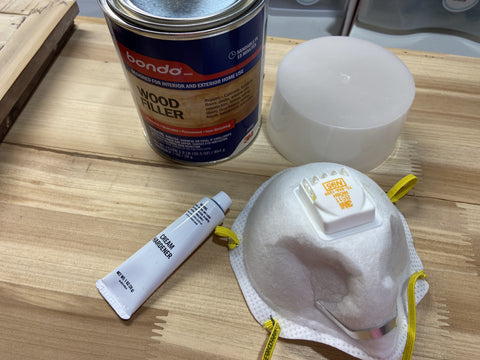
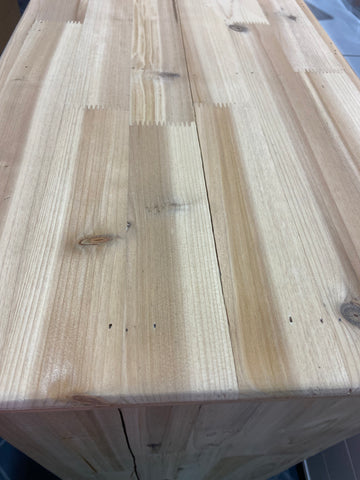
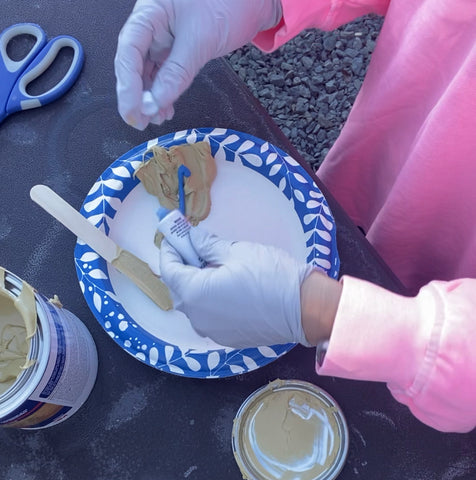
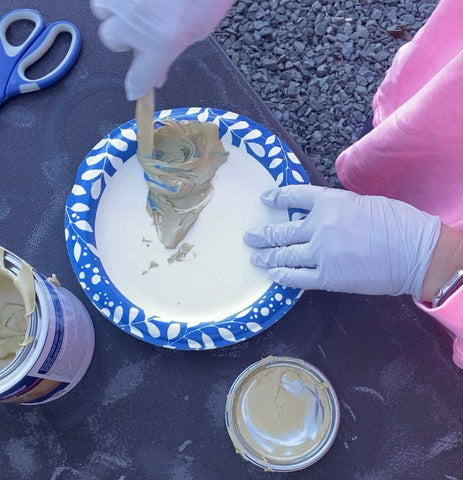
Any gaps or imperfections in the wood were filled in with Bondo, ensuring a seamless finish once the transformation was complete. Bondo is extremely potent in smell. A mask is definitely recommended as well as doing this process outside with lots of ventilation! After another round of sanding, it was time to wipe down the cabinet and prepare it for the next step. Check out the massive gaps that needed to be filled! (The process for using Bondo is basically just mixing two parts together and working quickly using a putty knife to press it into the gaps similarly to applying spackling to holes in drywall. It doesn't take long to dry and then you need to sand it smooth. (Remember that mask!)
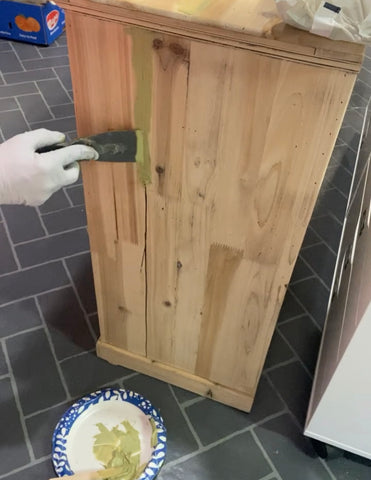
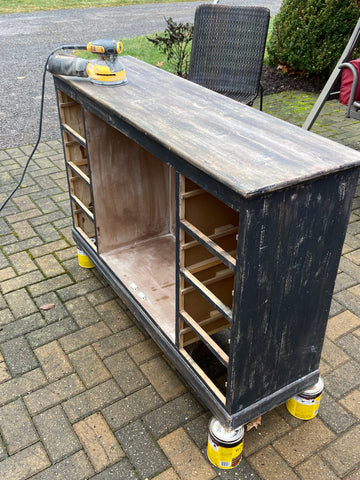
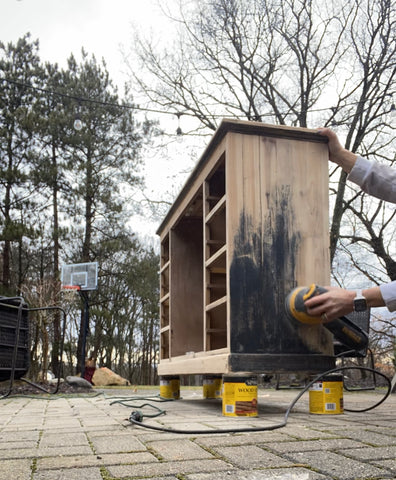
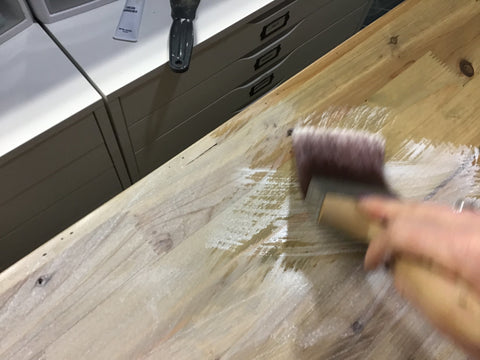
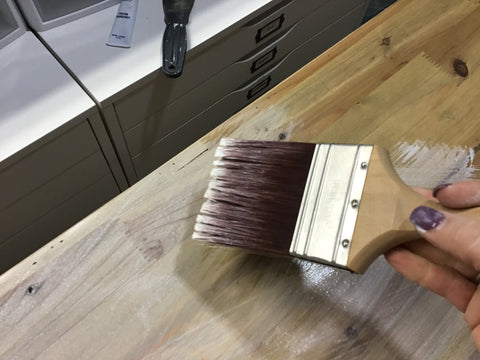
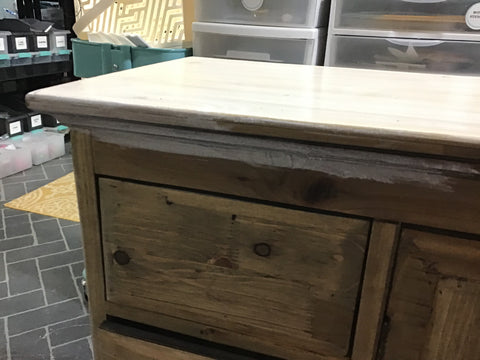
Step 4: The White Wash Magic
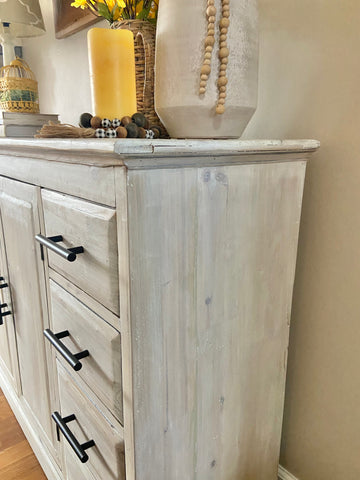
With a can of Driftwood stain by Minwax in hand, I applied a coat to the cabinet, allowing the natural grain of the wood to shine through. If I knew what happened to my can of wood conditioner (also by Minwax), I would have applied a coat of that first. I opted to skip the step rather than invest in another can. To achieve that modern farmhouse look, I brushed on a watered-down layer of primer, repeating the process until the color was just right. To water down the primer, I simply used 1 part primer and 3 parts water and mixed it up well. I applied with a large quality paintbrush.

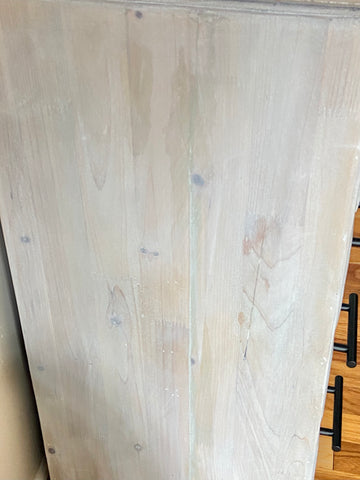
Step 5: Protect that Buttery Finish
Annie Sloan's white wax was my sealer of choice! This enhanced my white wash even more while also allowing me to really smash it in all the nooks and crannies. For this piece, I simply wiped the wax on with a shop cloth and wiped it back off with the same cloth. "Wipe on...wipe off... wipe on... wipe off..."
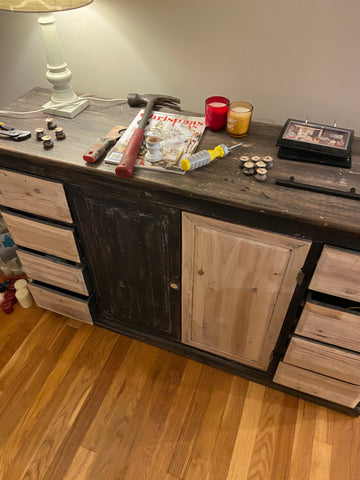
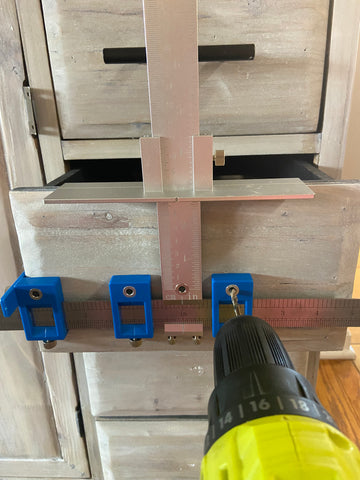
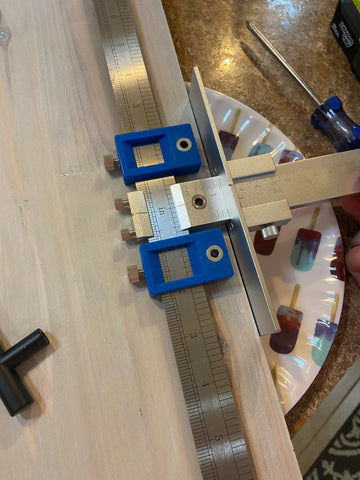
Step 6: The Final Touch
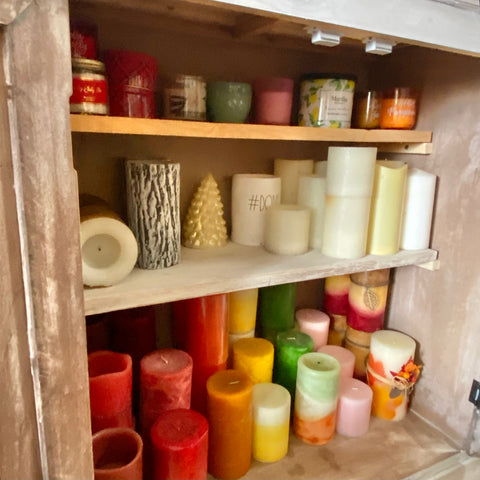
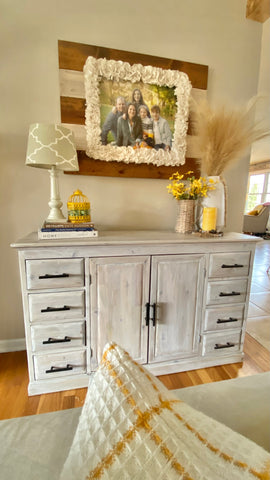
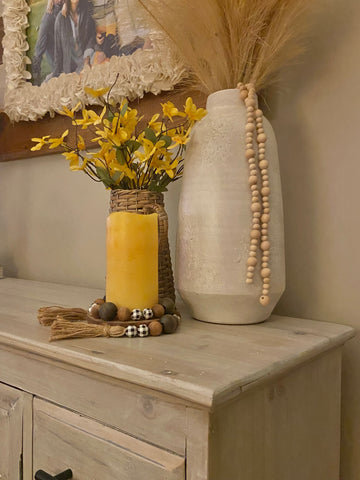
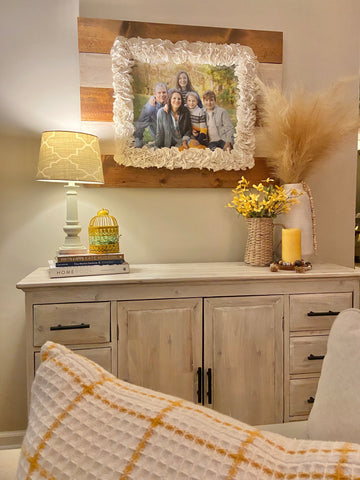
After the white wash was complete, it was time to add the finishing touches. I installed the new black hardware, giving the cabinet a sleek and updated look. I have this tool that makes it super easy to mark out your holes and get the hardware straight! Inside, I added shelves (using some scrap wood pieces from my workshop) to make the piece not only beautiful but functional for holding all of my candles as well. I made the shelves a little narrower as you go up so that I can get different sized candles on each shelf. The drawers are perfect for tapered and small candles.
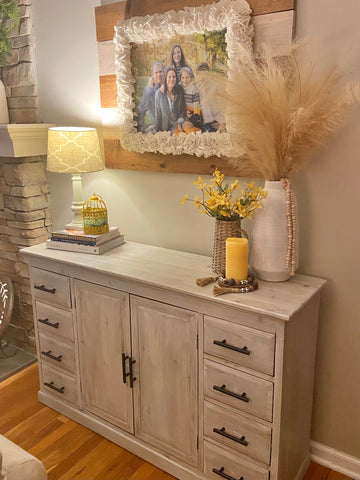
And just like that, my once "rusticly rough" cabinet had been transformed into a modern farmhouse beauty, all thanks to a little elbow grease and a lot of creativity. Who knew a simple white wash could make such a difference?

Save this pin for furture reference!
