
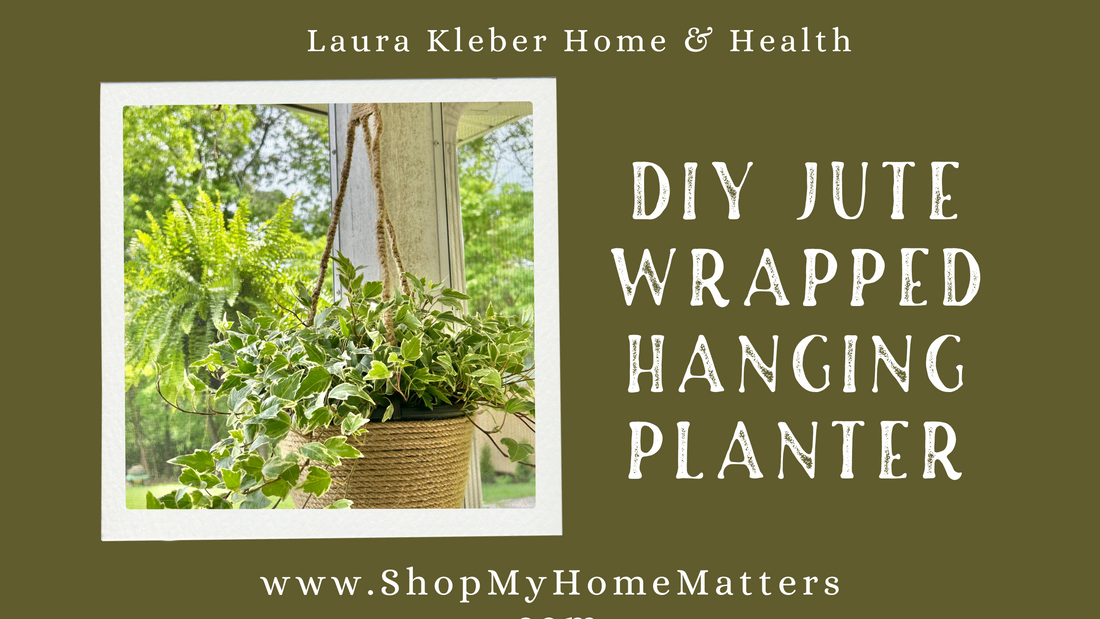
DIY Jute Wrapped Hanging Platter
If you’ve got a plain plastic plant hanger lying around (you know the kind—simple, functional, but not exactly pretty), don’t toss it! With just a few supplies and a little time, you can give it a charming, rustic makeover that adds texture and personality to your space.
This easy DIY project uses jute cording and a hot glue gun to completely transform a standard plastic hanger into a piece that looks handcrafted and stylish—perfect for farmhouse, boho, or cottage core decor!
➡️➡️➡️Scroll to the bottom of this post and watch the full video tutorial!⬅️⬅️⬅️
What You’ll Need:
-
A basic plastic plant hanger (any color, any size-mine came with my ivy plant)
-
Jute cording (available at most craft stores and on Amazon) I used these specific 3 mm and 5 mm jute cording options from Amazon.
-
A hot glue gun and plenty of glue sticks
-
A pair of scissors
-
Optional: spray paint (if you want to change the color underneath)
Step 1: Prep Your Hanger
Give your plastic hanger a quick wipe-down to remove dust or residue. If you want to change the base color, now’s the time to spray paint it. Use a neutral or earthy tone as a base coat so it blends well with the jute, especially if your cord has gaps once it’s wrapped.
Let it dry completely before moving on.
Step 2: Start Wrapping the Pot (Optional - I chose to wrap my pot.)
Begin at the bottom of the pot or the outer edge of the hanger’s arms (whichever part you want to tackle first). Add a line of hot glue, then press the jute cording down into the glue. Work in small sections so the glue doesn’t cool before the cord is attached.

Continue wrapping the jute around the pot or hanger arm, adding more glue as you go. Keep the cord tight and close together for a clean, consistent look.

Pro tip: If you want a more relaxed, rustic feel, you can leave a tiny gap between wraps. For a more polished look, keep the wraps tight and close.
Step 3: Cover the Hanger Top Piece
To start, I placed the end of my 3 mm jute slightly up the curved tip of the hanger and glued it in place. Then start wrapping the twine around, being extra careful at the very tip to add glue and get the twine secured well before you continue wrapping.


Depending on the style of hanger you are using, you might want to continue down if there is another piece, like mine had, separating the hanger from the three separated plastic hangers. At the bottom of this section, I cut off the twine and then tucked it in so that it wouldn't show and added some glue to secure it from coming back out.


Step 4: Cover the Hanger Arms
The arms that hold the plant hanger up can often look especially "plastic," but jute adds beautiful texture. Carefully wrap each arm in the same way—gluing and wrapping until completely covered.
If your hanger has small hooks or hardware, you can either wrap around them or leave them exposed, depending on the final look you’re going for.
Choose which of the arms you want to start with. You may want to tape down the other arms so that everything stays in place while you work. Slide the 3mm twine behind the arm and measure out about 4-5 arm lengths of the twine to each side of the arm. Once you have about that much on either side of the arm, tie a single knot around the arm at the very top. Glue it so that it stays at the top.
Using the piece of twine that is on the left of the arm, form what looks like the triangle portion of a "4."

With the twine extending to the right of the arm, lay it straight down on top of the arm, over top of the "4" you just created.

Now gently start to form a backwards "L" with that top piece as you start to curve it around to the left.

Pick up the piece you are curving around to the left, and gently pick up the arm and other pieces as well, while trying to keep them in place as best you can. You will want to bring that left piece up from behind the loop you created AND as you do that, make sure it is on the right side of the plastic arm piece.


Now pull that piece all the way up through and then tighten the loop by pulling to the right and left with both ends of the twine.

Continue this method the entire way down the arm and then tie a double knot at the bottom. Repeat with the other arms. Add some hot glue to ensure the bottoms do not fray or come loose.

Step 4: Add Embellishments, if Desired!
Once everything is wrapped, neatly finish everything off by checking the ends of your jute cord and tuck or secure or glue whatever might need a little extra securing. You can also add embellishments if desired—think wooden beads, tassels, or even a decorative tag to hang from the top. I decided to try this black and white striped ribbon I had in my workshop. Now, just don't mind my dirty porch support in the background! It's truly on the list of things to get done before hosting a graduation party this summer!

Step 5: Hang It Up!
Pop your favorite plant into your newly wrapped hanger and find the perfect spot to show it off. Whether you hang it on a porch, in a sunroom, or near a window indoors, this simple upgrade adds so much character.

Final Thoughts
This jute-wrapped plant hanger is an easy weekend project that turns something basic into something beautiful. It’s budget-friendly, beginner-friendly, and totally customizable depending on your style. Plus, you’re giving new life to something that might otherwise get tossed!
Have you ever tried upcycling plant hangers or planters with rope or twine? I’d love to hear your favorite DIY tricks or see your photos—share them in the comments or tag me on social media!
