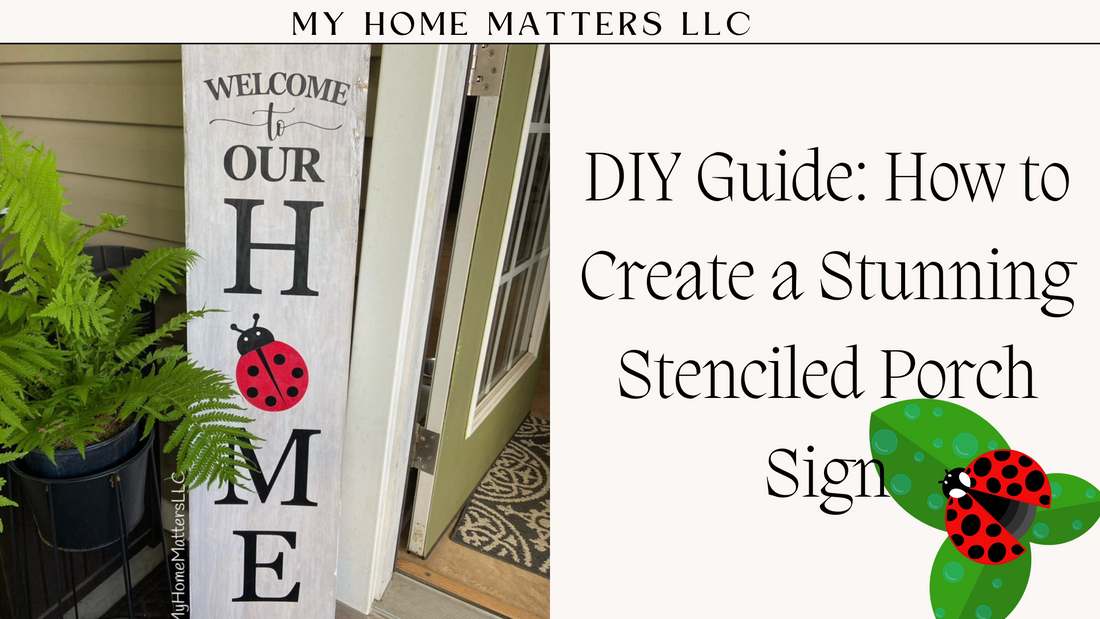
DIY Guide: How to Create a Stunning Stenciled Porch Sign
Share
Creating a beautiful, customized porch sign can add a welcoming touch to your home. This DIY project is simple yet rewarding, allowing you to infuse your personality into your porch decor. With a quick trip to your local Lowes or Home Depot, plus one (or two...make it reversible) of our porch stencils plus our step-by-step guide to staining, painting, and stenciling to help you create your own stunning porch sign.
Materials Needed:
- Wooden board (12x48 inches)
- Sandpaper (120 and 220 grit)
- Wood stain (color of your choice - suggest MinWax stains)
- Paint (for background and stencil, in contrasting colors - suggest acrylic or chalk paint)
- Stencils (any of our porch stencil designs)
- Paintbrushes and foam brushes (or use the baby wipe technique as mentioned in this video)
- Painter's tape
- Protective gloves
- Drop cloth or plastic disposable tablecloth
- Clear sealant (optional for weather protection - outdoor ModPodge is one option)
Step 1: Preparing the Wood
- Choose Your Board: Start with a good quality 12x48 inch wooden board. Pine, cedar, or reclaimed wood are great choices.
- Sand the Board: Use 120-grit sandpaper to smooth out any rough spots or imperfections. Follow with 220-grit for a finer finish. Always sand in the direction of the wood grain.
- Clean the Board: Wipe down the board with a damp cloth to remove any dust from sanding.
Step 2: Staining the Wood
- Apply the Stain: Wear protective gloves and work in a well-ventilated area. Using a foam brush or cloth, apply the wood stain in the direction of the grain. Cover the entire board evenly.
- Wipe Off Excess: Let the stain sit for 5-15 minutes, depending on the desired color intensity. Wipe off any excess stain with a clean cloth.
- Drying Time: Allow the stain to dry completely. This usually takes about 24 hours, but check the manufacturer’s instructions.
Step 3: Painting the Background
- Protect Edges: If you want a stained border, use painter’s tape to protect the edges of your board.
- Apply Paint: Choose a paint color that contrasts with your stencil color. Apply the paint using a brush or roller for a smooth finish. You might need two coats for even coverage.
- Drying Time: Let the paint dry completely between coats, and after the final coat, allow it to cure as per the paint manufacturer's instructions.
Step 4: Stenciling Your Design
-
Position Your MHM Porch Stencil: Once the background paint is dry, place your stencils on the board. Measure to ensure they are centered and aligned properly. For a detailed look at how to apply this stencil, watch the video at the bottom of this post! For a shorter, more general, how-to video on how to apply our stencils, click here.


-
Apply Mod Podge: Using a foam dobber brush, apply the mod podge in a dabbing motion over the stencil to help reduce the risk of your paint bleeding. Allow to dry according to the manufacturer's instructions.

- Apply Paint: Using a foam dobber or makeup sponge, apply the stencil paint in light layers to prevent bleeding. Dab the brush onto the stencil rather than brushing to maintain clean lines.
- Remove Stencils: Carefully remove the stencils while the paint is still slightly wet to avoid peeling. You may need a second set of hands to help hold the board down as you remove the stencil.

Step 5: Finishing Touches
- Touch Up: Use a small brush to fix any minor mistakes or bleeds around the stencil.
- Add any additional embellishments such as stripes.
- Seal the Sign (Optional): For outdoor signs, apply a clear sealant to protect your work from the elements. Spray or brush on a clear, weatherproof sealant and allow it to dry completely.


Tips for Success:
- Test First: Always test your stain and paint on a scrap piece of wood to see how they interact and dry.
- Less is More: When stenciling, less paint on your brush prevents bleeding and keeps lines sharp.
- Patience: Allowing adequate drying time between each step is crucial for a professional finish.
By following these steps, you can create a stunning, personalized porch sign that will greet your guests with style.
You can also follow Laura's YouTube tutorial as well.
Enjoy the process, and let your creativity shine!

