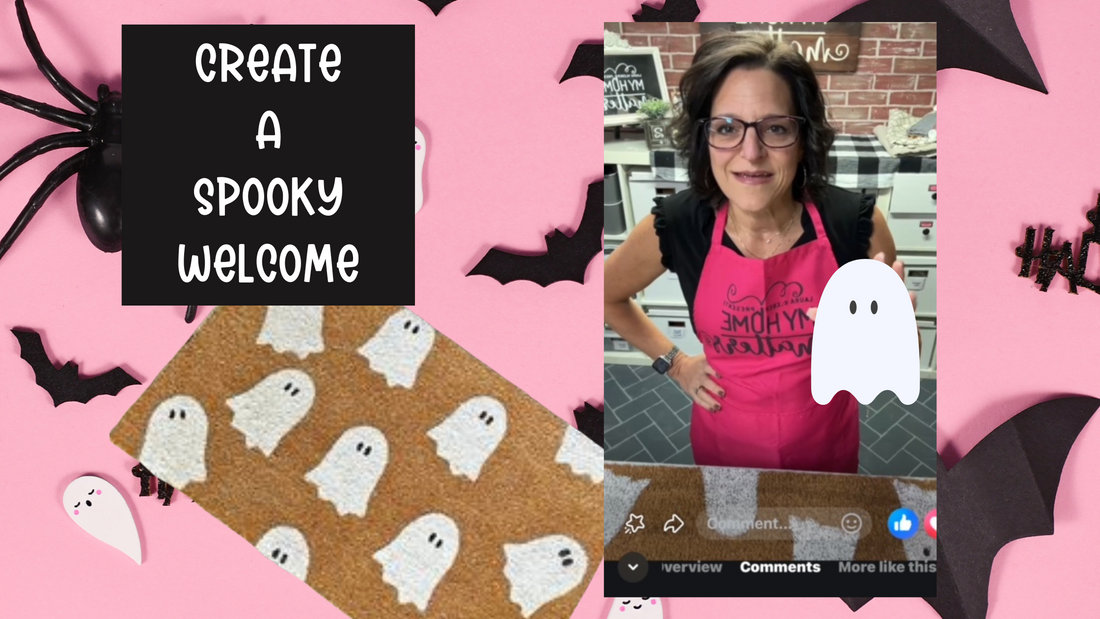
Create a Spooky Welcome
Share
Create a Spooky Welcome
Looking to add a fun, spooky touch to your porch this Halloween? A DIY ghost doormat is the perfect way to welcome your trick-or-treaters! With just a few simple supplies, you can create a cute and eerie doormat that’s both easy and budget-friendly. Here’s how to make your own ghost doormat:
What You'll Need:
- Coir Doormat: You can find blank coir doormats at Target, Hobby Lobby, Michael’s, or Amazon. These natural fiber mats are ideal for absorbing paint and holding up outdoors.
- White and Black Paint: I used chalk paint for its matte finish, but acrylic paint works well too. These will form your ghostly design.
- Ghost Template: I created a free downloadable ghost template, which you can print at home. For sturdiness, I cut mine out of cardstock and reinforced the edges with tape for added stability.
- Matte Sealer: To protect your creation from the elements, especially if it will be exposed outdoors, a matte spray sealer will extend the life of your doormat.
Step-by-Step Instructions:
1. Prep Your Workspace: Lay down some newspaper or cardboard under your coir doormat to protect your surface from paint spills.
2. Download and Prepare Your Ghost Template: Start by downloading the free ghost template. Print it on cardstock for a sturdy stencil, fold the paper in half, cut out the ghost and reinforce the edges with tape. This helps it keep its shape when tracing or painting.
3. Position Your Template: Once your ghost template is ready, place it on your coir doormat wherever you’d like your ghost to appear. Center it or get creative by offsetting it to one side for a unique look.
4. Start Painting:
- Using white chalk or acrylic paint, carefully dab the paint within the template’s outline using a sponge brush or stippling brush. Don’t worry if the coir soaks up some paint—it’s normal! Apply a second (or third) coat if necessary.
- Next, take your black paint and add any details, such as the ghost’s eyes and mouth, for that classic spooky expression. Again, allow the first coat to dry before adding a second if needed.
5. Seal Your Masterpiece: Once your design is fully dry, spray a layer of matte sealer over the entire surface. This will help protect your doormat from moisture, dirt, and wear, especially if it will be placed outdoors.
6. Let It Dry: Allow your doormat to dry completely before placing it outside. Depending on your paint and weather, this may take several hours.
Watch It in Action!
For a closer look at the process, watch my Friday Live video, where I demonstrate how to create this BOO-tiful ghost doormat in real-time. It’s a simple and fun craft that anyone can do!
Final Thoughts:
This DIY ghost doormat adds a personal and spooky touch to your front porch. Plus, it’s an easy and budget-friendly way to get into the Halloween spirit! Let your creativity run wild and even experiment with other spooky designs like pumpkins or bats.

Ready to get crafting? Download the ghost template and start creating your own BOO-tiful masterpiece today!


