Boo-tastic Craft: Make Your Own Ghost Garland
Share
Boo-tastic Craft: Make Your Own Ghost Garland
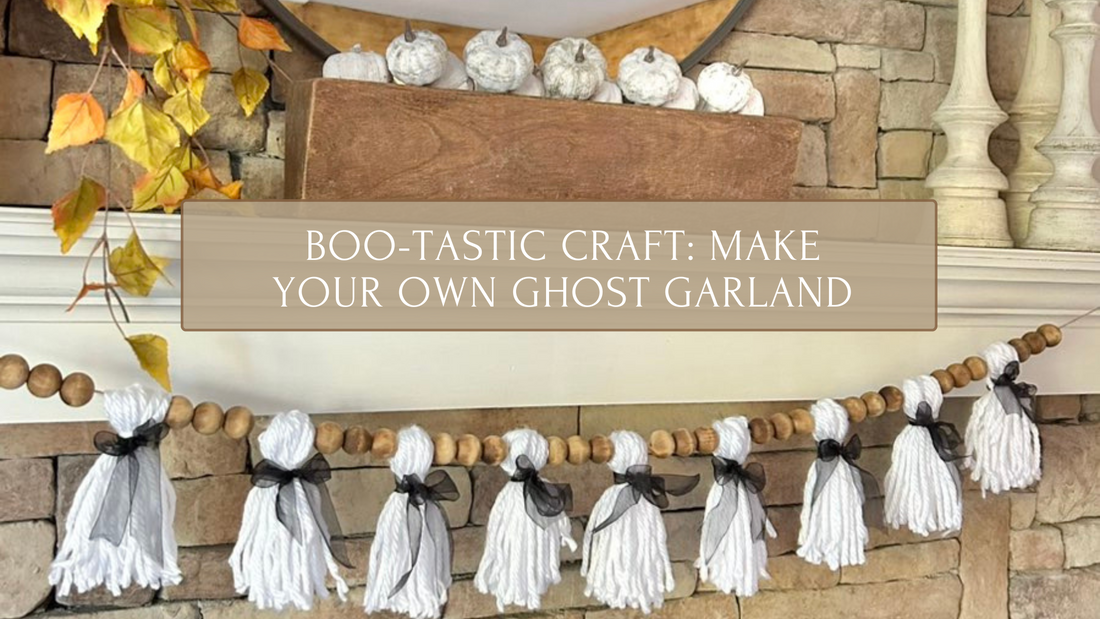
Create a spooky yet charming yarn ghost wood beaded garland for Halloween using simple supplies like white yarn, Halloween ribbon, twine, and wooden beads. Make your own yarn ghost wood beaded garland by following these steps or by watching this video:
Materials:
- White yarn
- Halloween-themed ribbon
- Twine
- Wooden beads (paint or stain as desired)
- 2D cutouts (pumpkins, pennant/triangle cutouts)
- Optional: Grab our Halloween digital printables for mod podging on any of our 2D cutouts items
Steps:
1.Create the Ghosts:
- Wrap the yarn around your hand (or cardboard) 21ish times to form the body of the ghost. I used the length of one our mini wooden books to get my desired length when forming my ghosts.
- Tie a piece of yarn around the top to create the head and let the ends hang down to form the body. Optional: Add small black eyes using felt, or a marker.
2. Prepare the Beads:
- Paint or stain your wooden beads in Halloween colors (black, white, or orange). I stained mine in MiniWax Early American.
- Then thread the beads onto the twine, leaving space to alternate between beads and other elements like ghosts.

3. Assemble the Garland:
- Attach the yarn ghosts between beads by tying them to the twine or stringing then via their heads.
- For added detail, tie small bows using Halloween ribbon between the ghosts and beads and around their necks.
4. Add Custom Details:
- Use our pennant or triangle 2D cutouts to add words like "BOO" or "SPOOKY" by painting or mod-podging Halloween printables on them.
- Attach 2D pumpkin cutouts along the garland for an extra festive touch.

5. Display Your Garland:
- Once complete, hang your garland on a mantel, shelf, doorway or window!
This easy DIY project is perfect for adding a personal touch to your Halloween décor. Plus, with customizable elements like paint, ribbon, and printables, it’s a fun way to let your creativity shine!

