
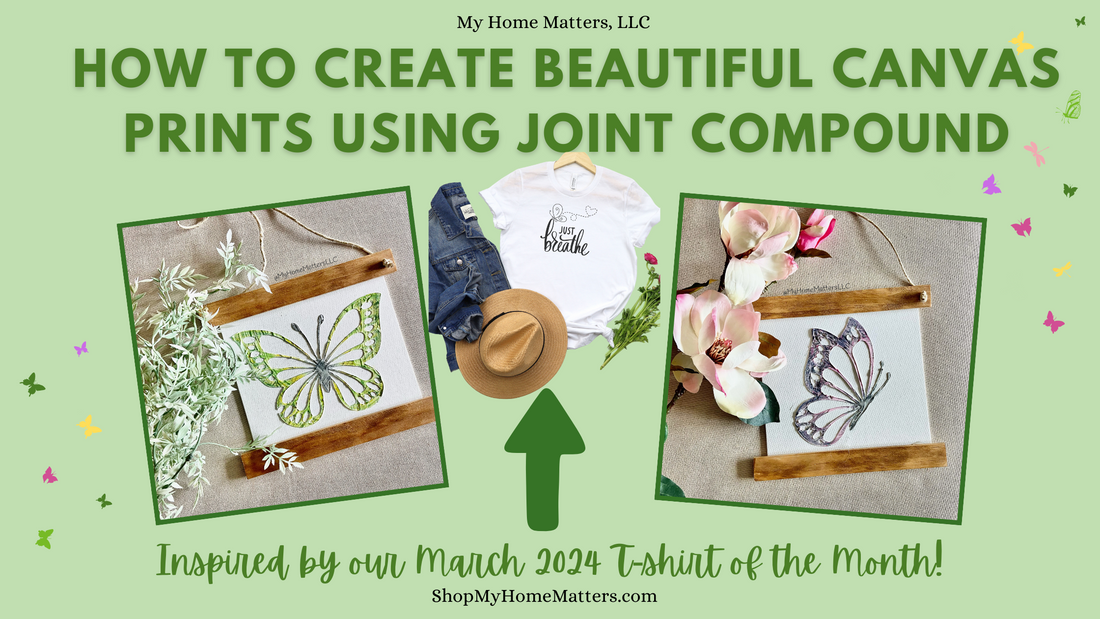
Create Stunning Artwork with Joint Compound
Have you ever wanted to add a personal touch to your home decor with unique canvas prints? One creative way to achieve this is by using joint compound to create textured designs. In this blog post, I will walk you through the process of making your own custom canvas prints using joint compound. I was inspired to add this kit to our online shop after designing our t-shirt of the month for March...
What materials do you need?
To get started, you will need a canvas, a stencil of your choice, joint compound, a putty knife, acrylic paint in your desired colors, two pieces of trim, and some twine for hanging. You will also need a hot glue gun to apply your trim pieces. You can certainly order our DIY Butterfly Canvas Kit.
How do you create the textured design?
Begin by securing your stencil onto the canvas.(HINT: It is a good idea to take a picture of your stencil before applying the compound since the compound will often hide your stencil completely making the next step a little tricky.) Use a putty knife to apply a layer of joint compound over the stencil. Make sure the layer is even and covers the entire design. Pull the stencil off right away. But you may need to let it dry a little bit before attempting to pull out any small pieces or insides of letters. This is where that photo might come in handy. Use a sharp tool like a Cricut pick to help you get those pesky little pieces out of the compound. Allow the joint compound to dry completely before moving on to the next step.
I love the look of the different swirls and unevenness. It just adds to the character!


How do you add color to the design?
Once the joint compound is dry, it's time to add color to your canvas print. Use any craft paint to hand paint over the joint compound, filling in the design with your chosen colors. Get creative with your color choices to make your canvas print truly unique. My personal preference is to use a brush that is flat (about 1/4 inch wide) and keeping the paint super dry. The dry brush technique allows for even more character on your finished piece as it allows some of the joint compound to show through in it's raw form.


How do you finish off the canvas print?
To complete your canvas print, add two pieces of trim at the top and bottom of the canvas for a polished look. Use a hot glue gun, (If your canvas is larger, I recommend that you apply the hot blue but also staple it on as well, from the back. Make sure your staples will not be too long and poke through the front.) If If using our DIY Canvas Butterfly Kit, the one trim piece will already have holes pre-drilled. Attach some twine to your canvas by inserting through each hole and double knotting it. Now you have a one-of-a-kind piece of art to display in your home.


Creating canvas prints with joint compound is a fun and creative way to add a personal touch to your living space. Whether you're a seasoned crafter or a beginner looking to try something new, this project is sure to bring a unique flair to your home decor. You can also try this on other backgrounds like wood! Look Give it a try and see the amazing results for yourself!
Here's the video tutorial if you're more of a visual learner!
